Mark & Julia
We're thrilled that our enchanting lithophane lanterns are featured as the beautiful centerpieces on the reception tables at Mark & Julia’s wedding reception.
Our little family team is passionate about bringing magic and wonder into your life, and we're honored to be a part of this special celebration. To learn more about us and what drives our creative spark, visit our About Us page.
This page is dedicated to sharing the story behind our lanterns - from concept to creation. If you're looking to bring a little magic into your own life, be sure to explore our online shop, where you can find our lanterns and lithophanes, as well as other whimsical creations that are sure to delight.
Our resident photographer is occupied with getting married, so please pardon my amateur photos
Beginnings
Our Journey began shortly after the proposal. As a member of Kaleidoscope Cauldron Labs, I (Rikki) wanted to contribute something special to the wedding celebration. With our 3D printing expertise at hand, I brainstormed ideas and landed on creating lithophanes– delicate, translucent 3D images that would adorn the reception tables. We decided on creating lanterns that could hold four lithophanes each- two photos, and two table numbers.
Designing the Lanterns
Little did I know that finding a design for a lantern that we all liked would be a challenge. I had been learning how to 3D model in Fusion 360 for a few weeks, so with my fledgling modeling skills, I took on the task of designing something from scratch. A lot of learning, a lot of mistakes, and a lot of prototypes later, we had a perfect design.
The Color Conundrum
The lantern frames were originally planned to be gold, but after 5 different brands of gold ABS filament, finding the perfect gold proved to be an impossible task. After testing various options and even attempting to spray-paint them gold (which didn't quite yield the desired result,) we made the decision to switch to Eggplant– a rich, dark purple hue that complemented the wedding decorations beautifully.
Electronics
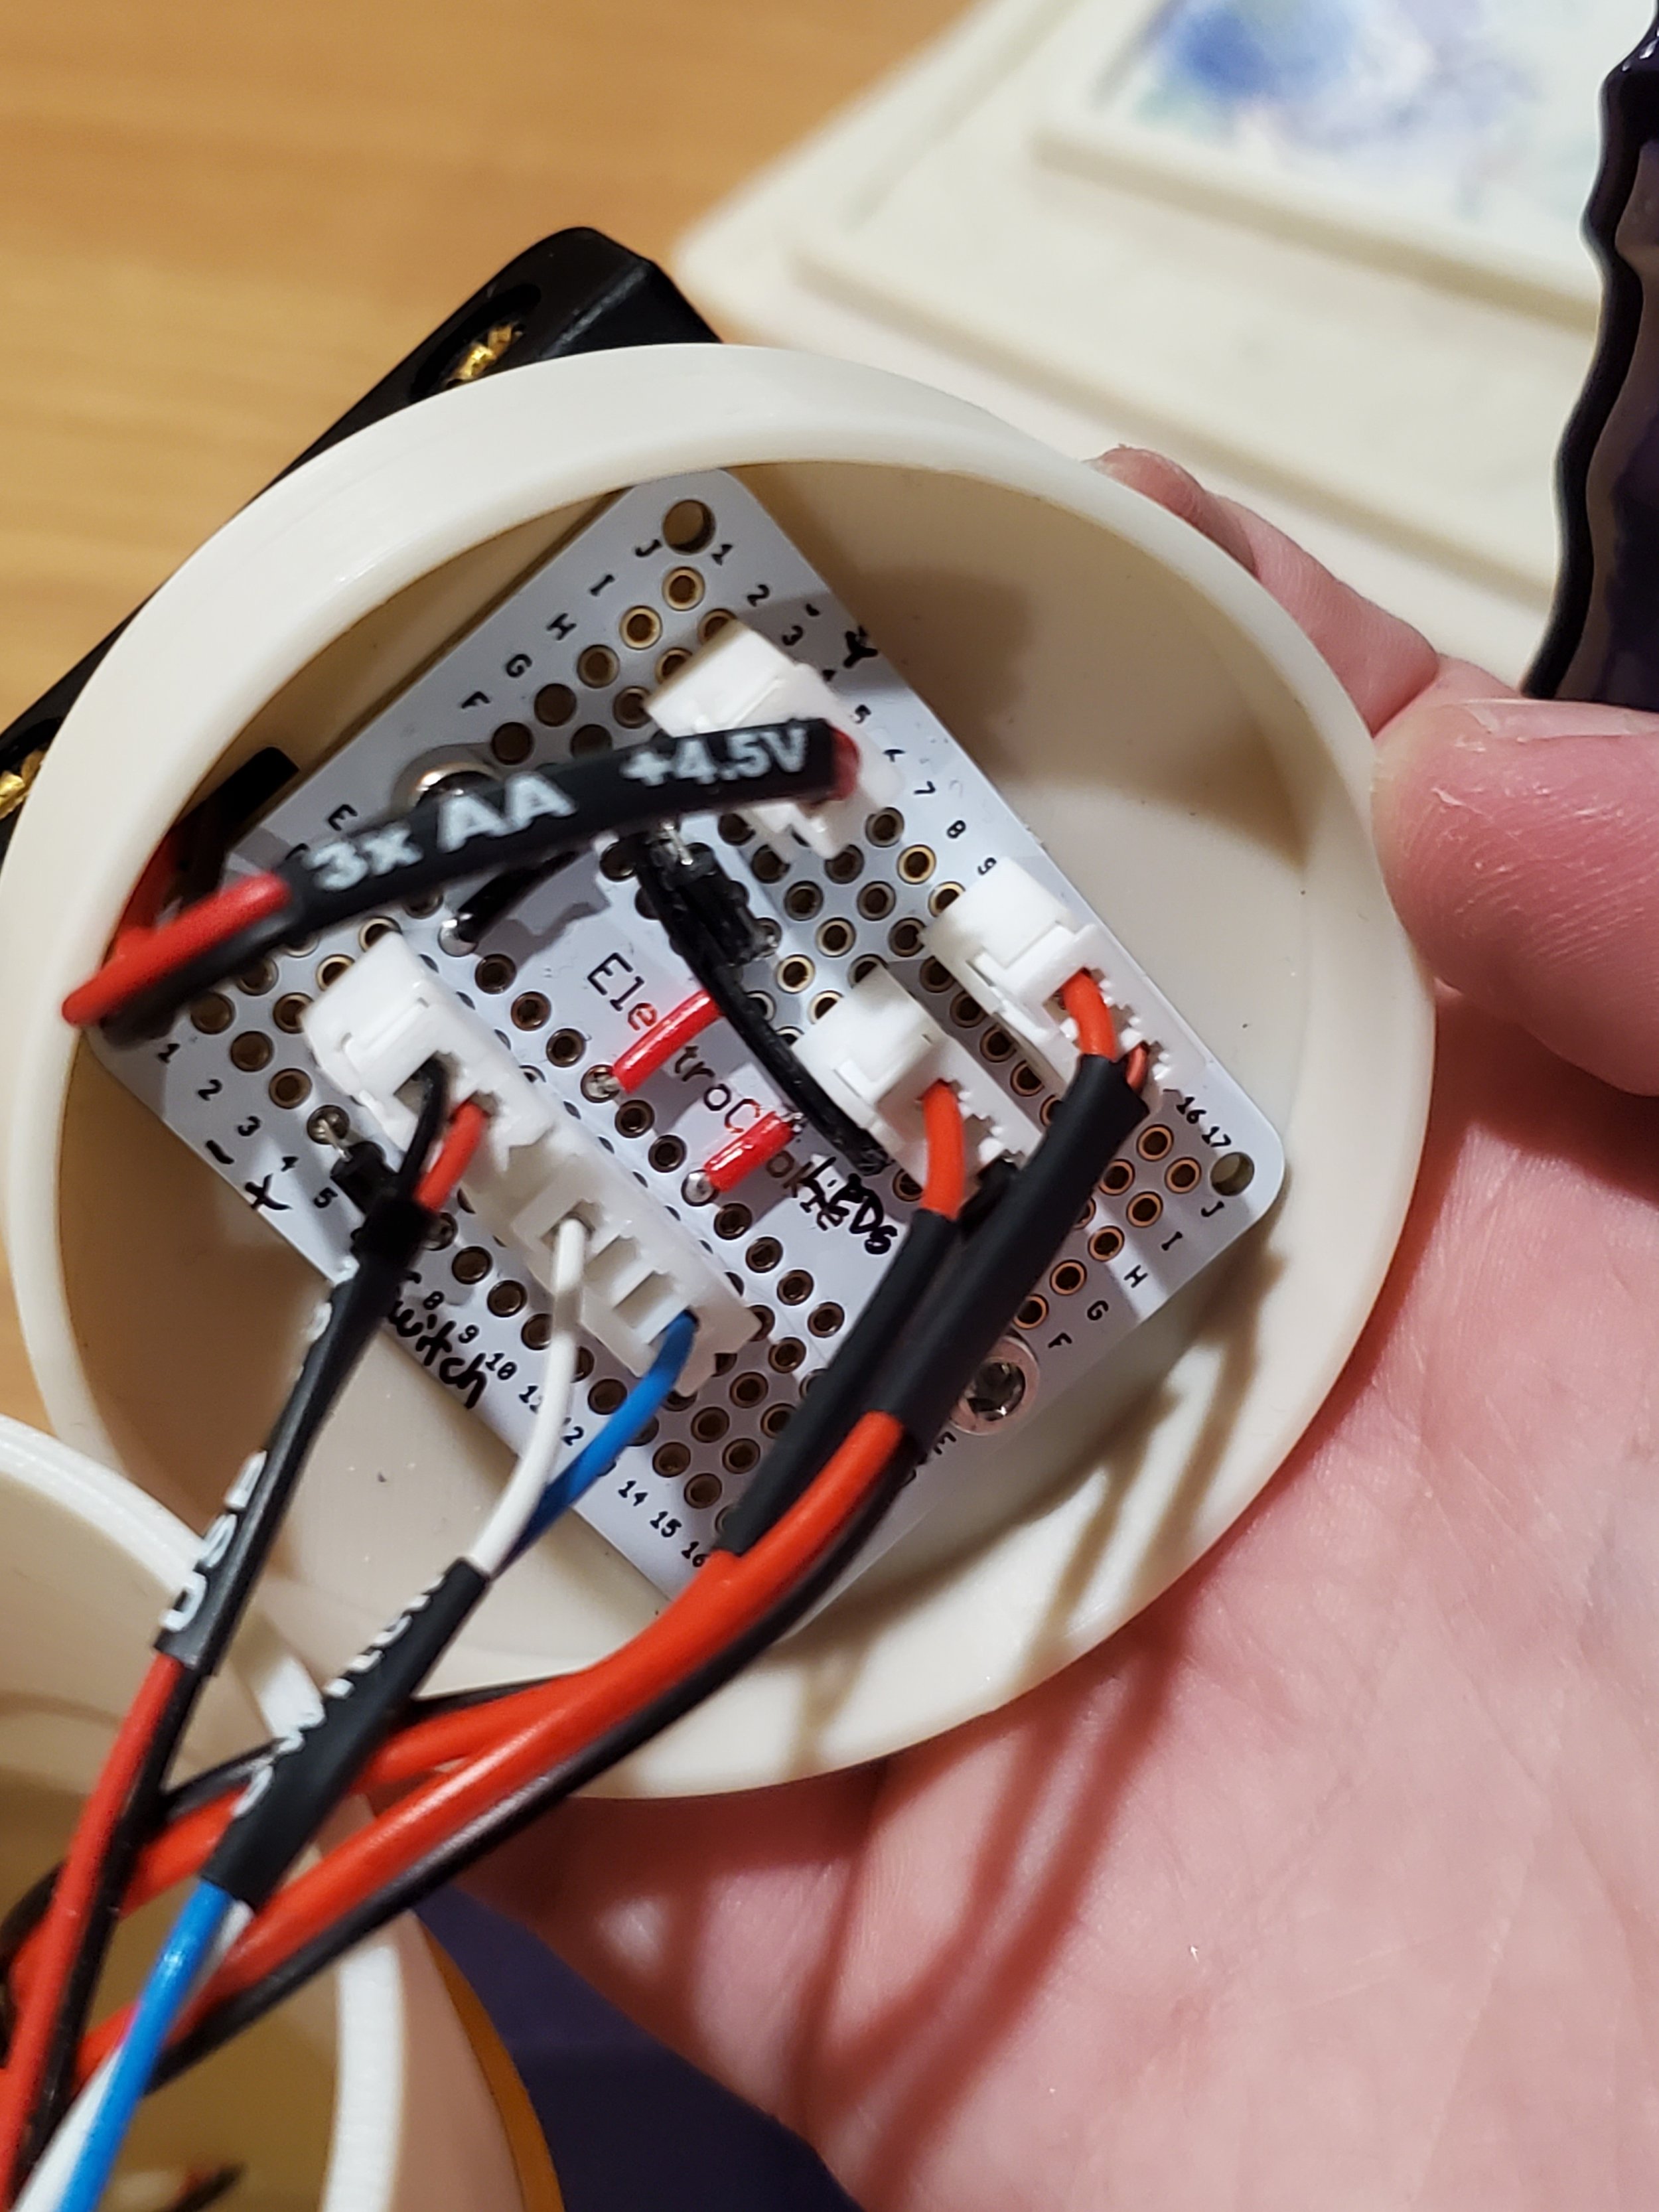
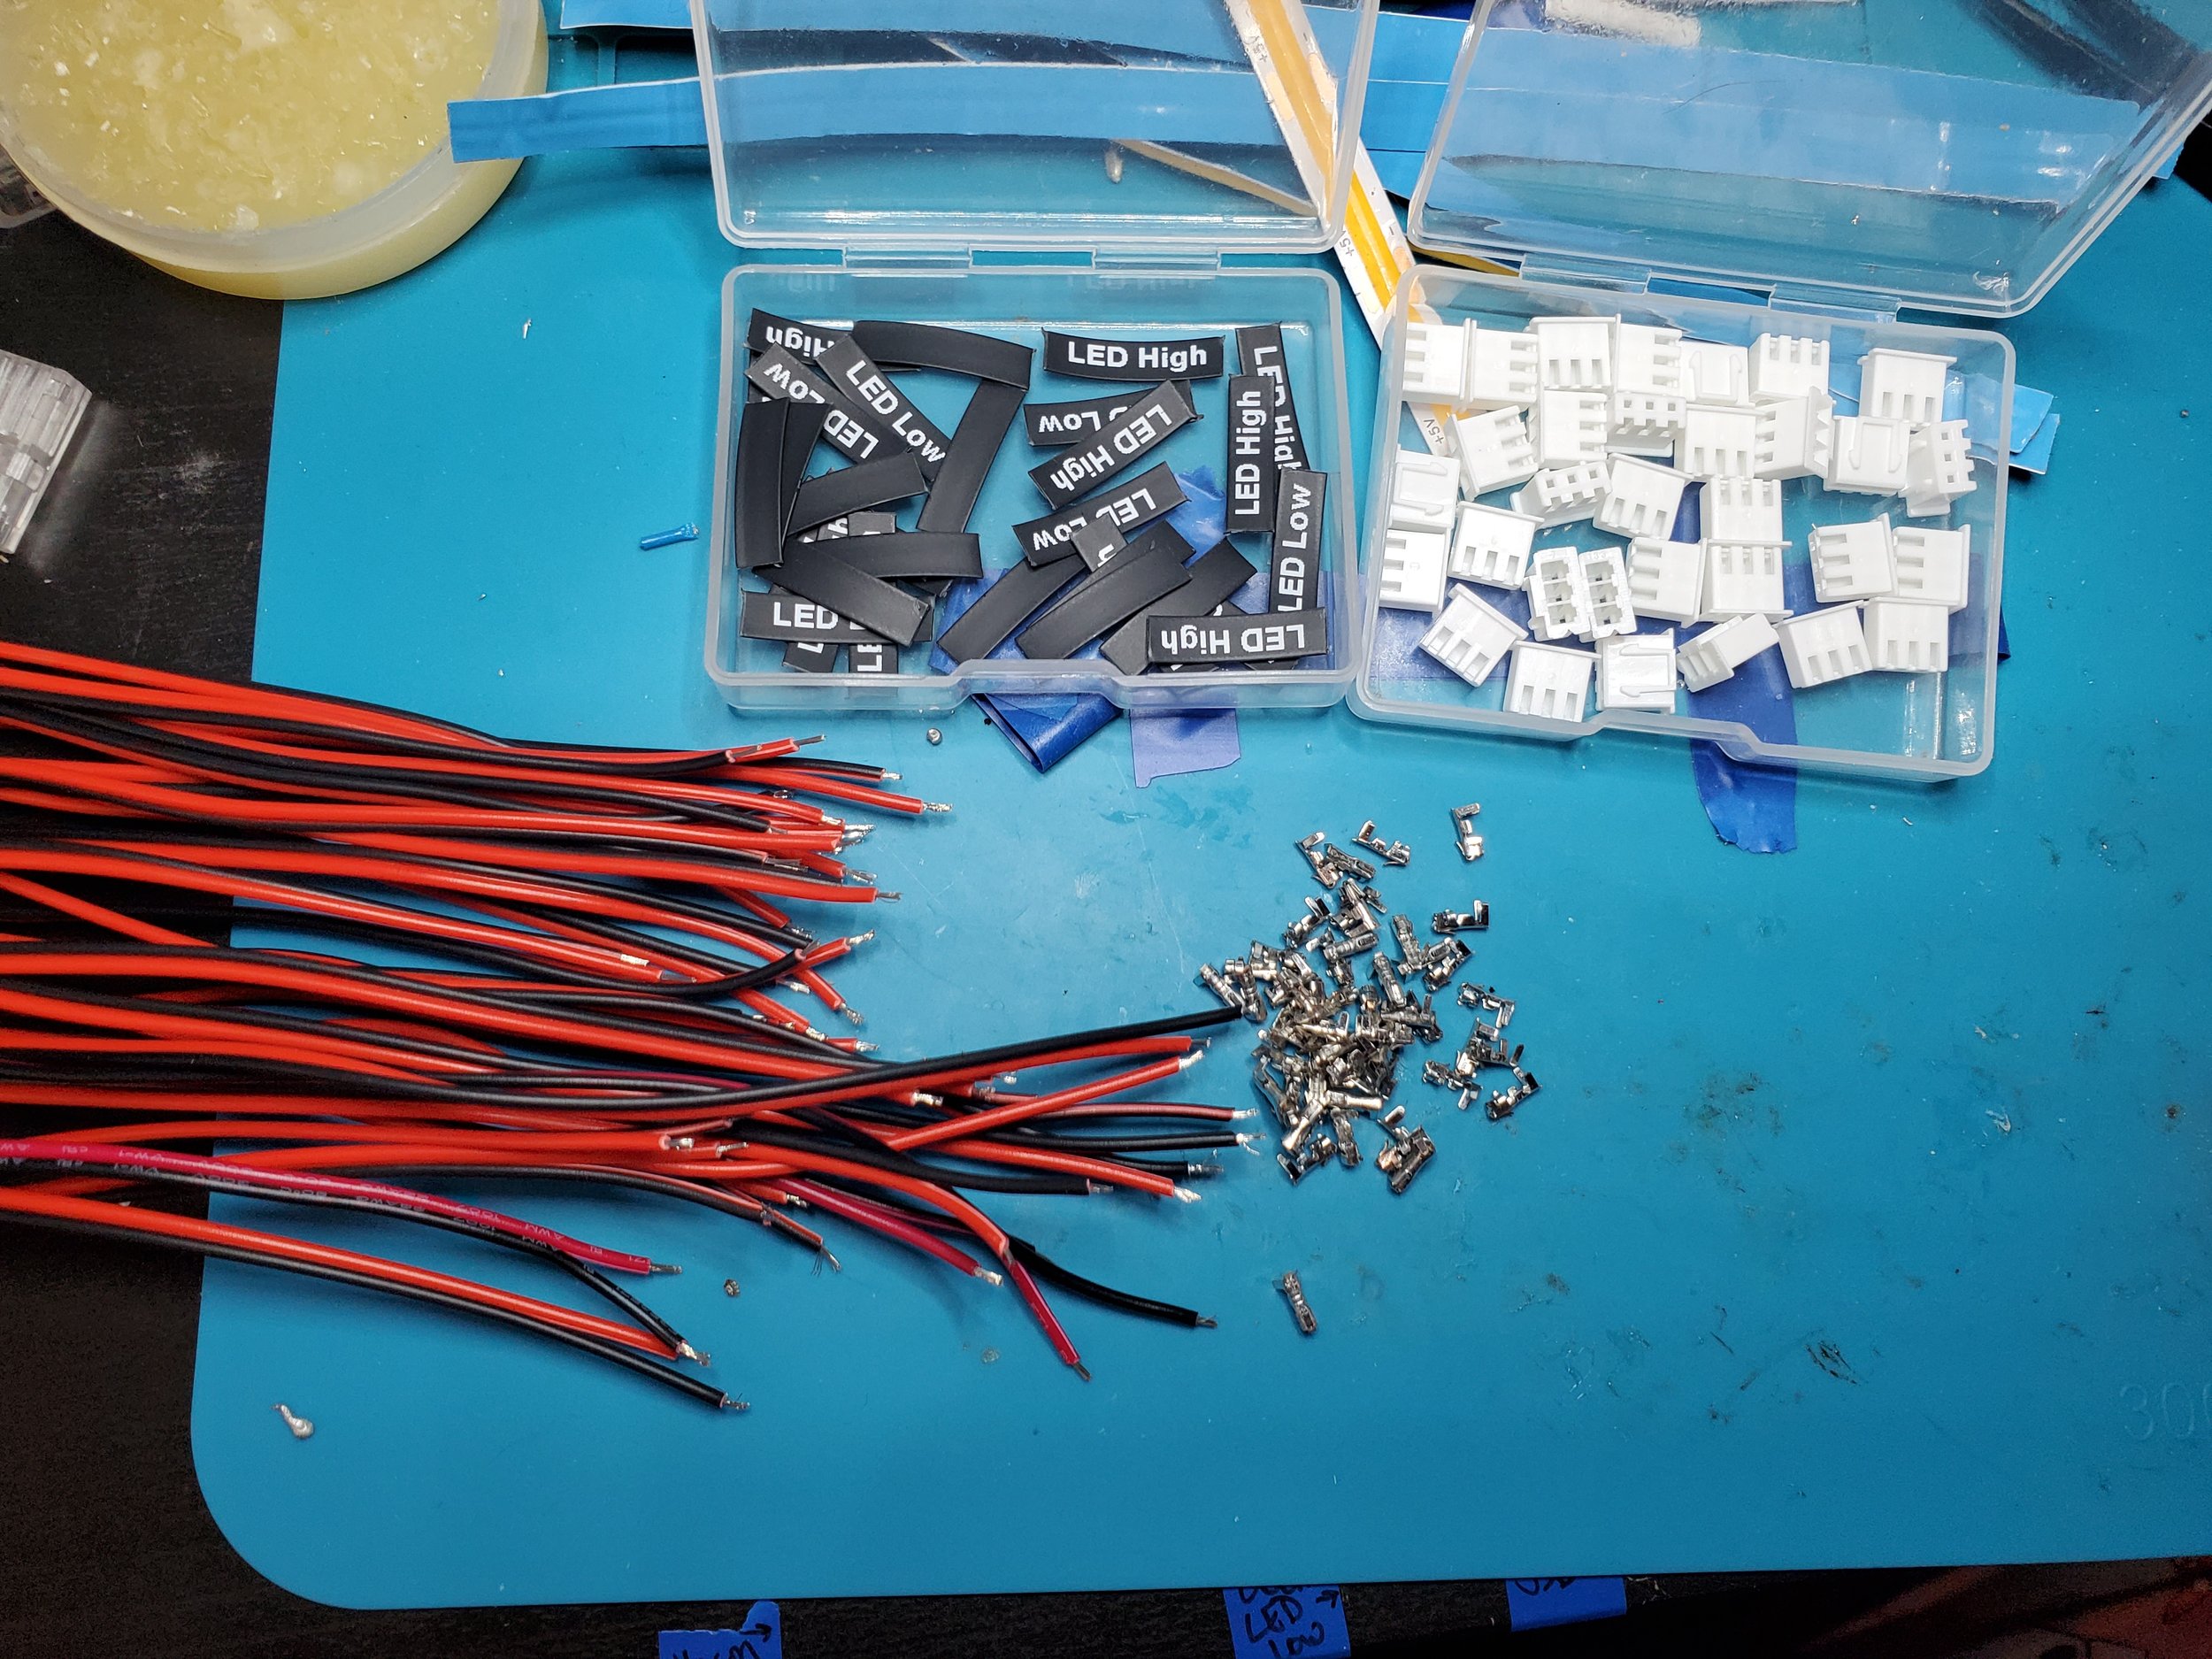
With plans to sell our lanterns after the wedding, I aimed to design them with both USB and battery power capabilities. After consulting with some friends will versed in electronics, we developed a custom circuit board that prioritizes USB power while allowing for battery use during the wedding. The circuit board uses separate connector types to ensure nothing can be accidentally plugged into the wrong place. Two LED strips mounted onto the center column give the lanterns their warm glow.
Table Number Panels
From the outset, we knew that two panels on each lantern would display table numbers rather than photos. To streamline the printing process, these panels were printed flat, rather than vertically, saving us a significant amount of time - 16-18 hours per panel versus just 2-3 hours.
We also wanted to add some decorative flowers to the table number panels. However, traditional lithophane printing would have limited us to shades of gray. To achieve the desired color and detail, we turned to waterslides, which allows for vibrant colors and detail. We used a Cricut machine to precision-cut the delicate flower designs, ensuring seamless application, topped off with a matte sealer.
Assembly
The final stage of our journey involved mass printing, post-processing, and assembly. Every piece was carefully crafted, acetone-flashed, and dried before being assembled into the stunning lanterns you see today. It was our biggest project yet, and they turned out fantastic!
Photos
Each of the 14 lanterns features two unique photos: one from the official engagement photo shoot and another more casual snapshot. Julia supplied all the outstanding photos, making it easy to create beautiful lithophanes.
Every lithophane is crafted using a single ivory-colored filament, with varying shades achieved by adjusting the thickness to control the amount of light penetration. This meticulous process requires 16-18 hours of printing time on our specialized equipment. To ensure stability during printing, each lithophane is printed vertically with temporary support braces on the sides, which are carefully removed after completion.


